29 Oct
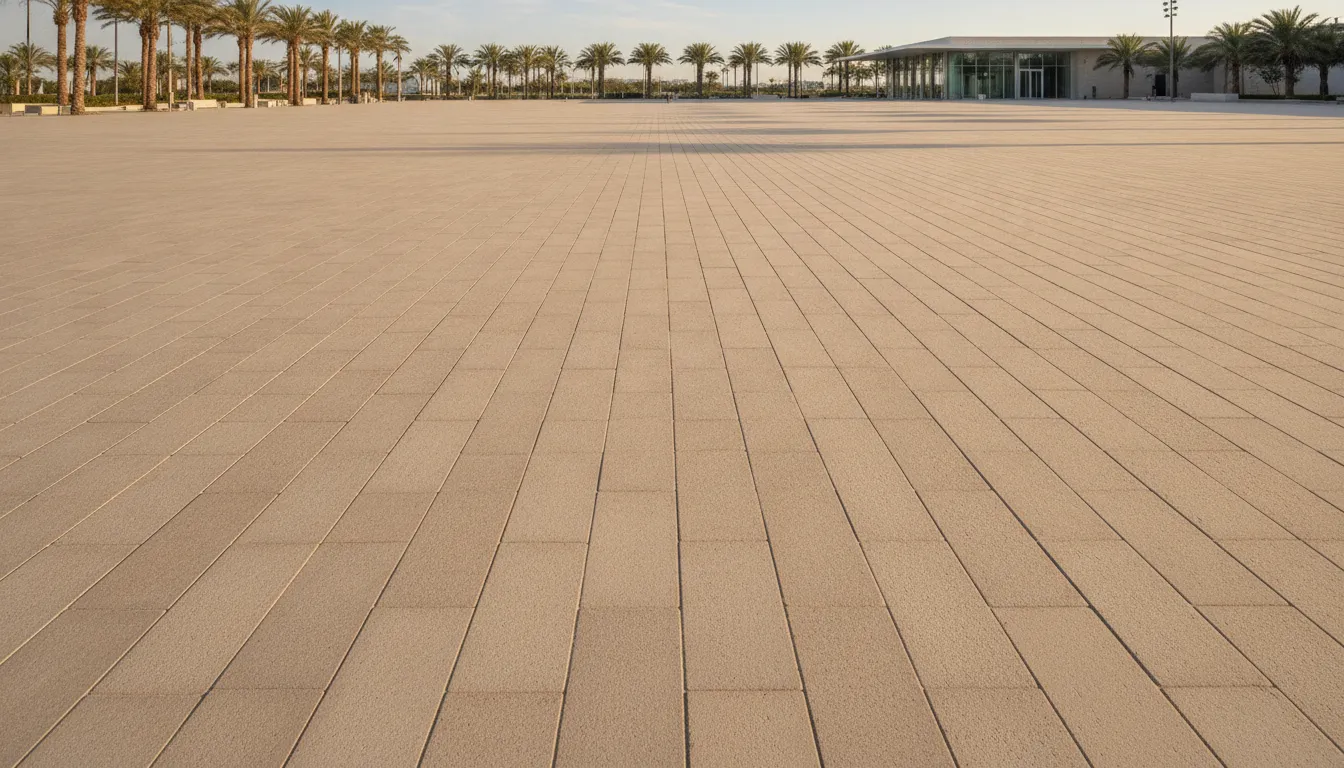
A modern pavers driveway is a layout decision before it is a product order. Homeowners and designers in Jupiter, Boca Raton, and Fort Myers get a calmer apron when they lock the module, the bond, and the border before anyone asks for a pallet count.
Request modern driveway layout samples
This guide stays on that drawing. Strength, base design, and porcelain versus concrete already live in the porcelain driveway guide. Use that page for load questions. Use this one to decide how the surface should read from the street.
Start with the view from the curb, not with a favorite color. A modern apron usually has one quiet field, a straight edge, and very little decoration in the tire path. Write down the width of the drive, the garage opening, and where guests actually walk.
Then separate three jobs on the same sheet. The driving lanes carry the cars. The border frames the field and meets the lawn or the street. Cuts happen only where a column, a drain, or a gate forces them. If those three jobs share one module, the layout stays easy to read and easier to repair later.
Bring the landscape designer or contractor into that sketch before the order. Hardscape.com can compare porcelain sizes and colors. The installer still owns how the field meets the garage and the apron. A pretty board that ignores the tire path will show every compromise after the first month.
Measure the drive in the three places a car actually uses. The garage opening sets the narrowest clear width. The middle of the drive sets the daily tire path. The street apron sets where a visitor turns in. If those three widths want three different modules, keep the largest quiet field and solve the difference in the border, not with a new pattern in the lane.
Also mark how people walk from the house to the street. Many Florida drives double as that front-door path. A layout that looks strict from the curb can still need a comfortable edge for guests on foot. Put that walking edge in the border zone so the driving field stays one repeated unit.
The bottom line: Draw lanes, border, and cuts as three jobs. One module should cover the lanes before a color is chosen.
Module means the paver size you repeat. A modern field usually looks calmer in one large rectangle than in a mix of small shapes. The 5CM porcelain collection is one place to compare outdoor sizes. Treat those sizes as layout options. They are not a load rating for your cars.
| Layout job | Module that stays calm | Where a second size belongs |
|---|---|---|
| Driving lanes | One repeated size across the tire path. | Do not switch sizes inside a tire path. |
| Apron and turnaround | The same module as the lanes. | A size change here reads as a patch. |
| Border and gate notches | A smaller unit can turn a corner. | Keep it outside the main field. |
The large-format versus small-format comparison explains the visual trade for other outdoor rooms. On a drive, add one rule: the tire path stays in a single module. A size change at the garage threshold is the first thing guests notice.
Ask to see the shortlisted sizes outdoors, dry and after a rinse. A photo crop hides how a large field meets a narrow side yard. If the drive is tight, a longer rectangle may need fewer awkward cuts than a square that never lands on the width.
Hold the module up to the garage, not only to the lot line. A unit that looks generous on a wide apron can leave a sliver beside a narrower door. Lay two or three pieces on the ground and look down the joint line. If the joints do not point at the door in a way you like, rotate the module now. Changing direction after delivery wastes a row.
Keep surface structure in the same conversation as size. A light structure can hide daily dust better than a completely plain face, but the structure should repeat. Mixing a bold vein with a quiet unit in the same lane makes the drive look like two products. Ask which faces exist in the module you chose, and reject a color that only exists in a size you already ruled out.
The bottom line: Pick one module for every surface a car crosses. Save smaller units for the border and the notches.
Bond is the way joints line up. A stacked grid looks strict and modern, and a running bond looks a little softer while staying simple. Fan patterns and multi-size puzzles fight a clean apron. They also make a future chip harder to replace, because the replacement has to recreate the picture.
Keep the border outside the tire path. A contrasting border can frame the drive without becoming the surface people drive on. If the border changes size, stop it before the garage door and before the street apron. A border that wanders into the lane becomes a permanent stripe. For a heavier frame, the guide to porcelain cobblestone borders shows when a smaller unit belongs at the edge rather than in the field.
Color should help the lines, not compete with them. Mid-tone outdoor porcelain usually hides tire marks better than a very dark field, and it avoids the washed-out look of a very pale field in Florida sun. That is a viewing note, not a performance rating. Confirm the exact item with samples before you treat it as the driveway color.
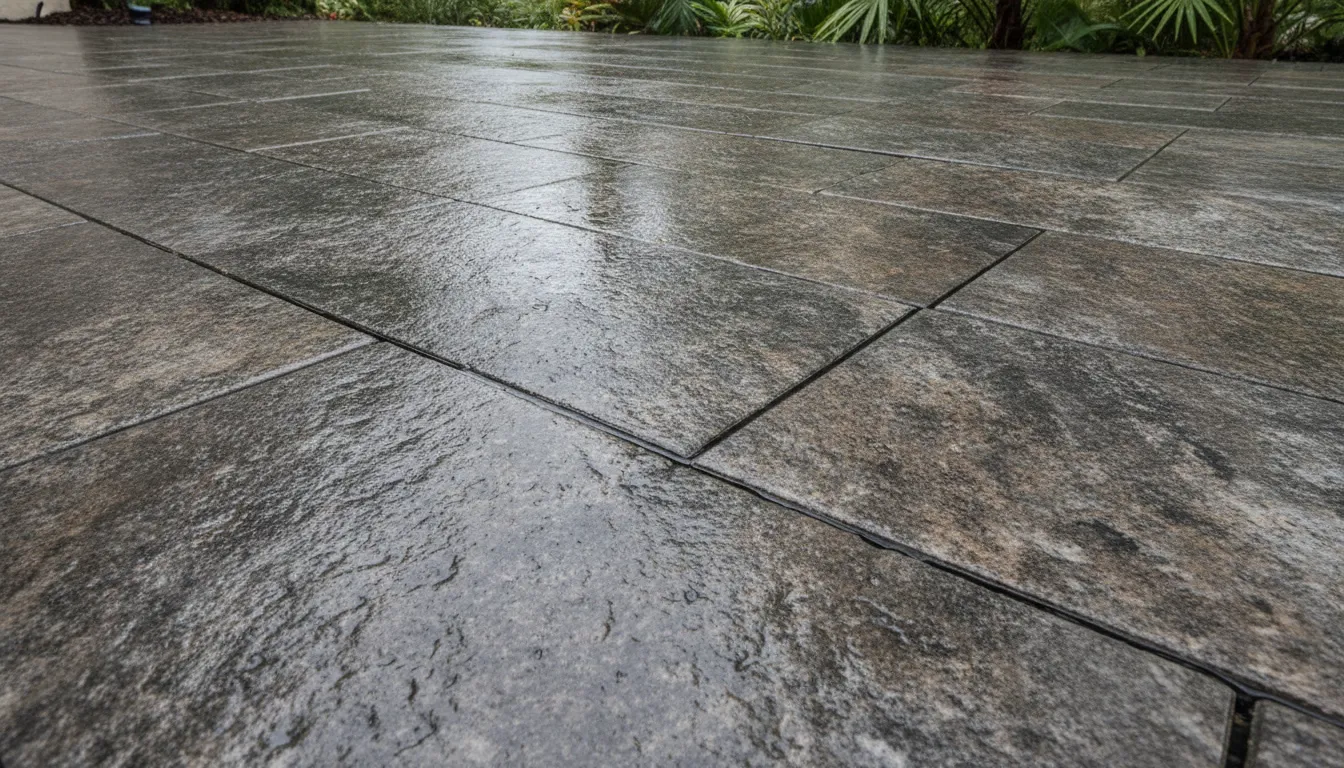
Joints belong on the drawing with the bond. Spacers and polymeric sand from the porcelain paver accessories list keep the gap consistent from the garage to the street. For where water should leave the field, use the porcelain drainage details and have the installer mark drains before the bond is locked.
A stacked grid asks for discipline at the garage. The joints should either center on the door or sit in a repeated rhythm you can explain. A running bond is more forgiving when the door is off-center, because the eye follows the long joints instead of a single cross. Pick the bond for that reason, not because a catalog photo used it.
Night viewing matters on a modern apron. Pale joints on a dark field draw a bright grid under the garage lights. Dark joints on a mid-tone field recede. Look at a sample panel after dusk if the drive is the first thing guests see. You are choosing the line work, not a coating.
The bottom line: Use a grid or a running bond, keep the border out of the tire path, and set the joint before you approve the color.
Cuts are the parts of a layout people regret. A modern field looks intentional when full units cross the lanes and cuts hide at the lawn edge, a column, or a drain. A sliver against the garage door looks like the module was chosen too late.
Measure the clear width between the garage jambs and the side borders. Divide that width by the module. If the math leaves a piece thinner than about half a unit, change the border width or shift the field. Do not solve it with a row of narrow cuts down the middle.
Curves need an honest plan before the count is requested. A gentle apron radius can take a border of smaller units while the field stays rectangular. A tight curve through the driving lane will chop the large module. If the design needs that curve, say so on the drawing and accept more cuts, or straighten the lane.
Gates, drains, and light poles should be located before the order. Moving a drain after the first pallet arrives forces cuts the drawing never showed. Mark those objects on the same sheet as the bond.
Walk the existing drive with a tape before you trust the survey. A planter that looks small on paper can steal four inches. A downspout can sit exactly where a full unit wanted to land. Note those conflicts in inches, then adjust the border. The field should still arrive as full pieces.
If the apron meets a sidewalk, decide who owns the joint between them. A clean stop, with the driveway module ending on a straight line, looks more modern than a row of wedges fading into the public walk. Your installer can confirm what the city allows at that line. The drawing should show the stop either way.
The bottom line: Full units belong in the tire path. Thin cuts belong at the edge, or the module and border should change.
A driveway order goes sideways when the designer, the installer, and the homeowner each assume a different drawing. Use one short list before anyone requests a count.
The 5CM heavy-duty overview is the place for thickness context if trucks or a steep apron are part of the job. Do not turn this layout sheet into that conversation. Ask the installer which line fits after the drawing is stable.
If you are hiring the crew, the guide on how to choose a porcelain paver contractor is a fair screen. Add one driveway question: have they set a large-format field without a stripe of cuts at the garage.
Timing belongs on the same sheet. The porcelain project timeline is useful once the drawing is stable, because a layout change after the count is requested is what pushes a driveway past its date. The broader planning guide covers the rest of an outdoor project. Keep this page to the apron drawing.
The bottom line: Approve module, bond, border, and cut locations on one sheet before the pallet count is requested.
A layout that looks balanced on a plan can feel loud in the driveway. Take the two final colors and the chosen module outside at the house. Look at them at noon and in the late afternoon. Rinse one piece so you see the wet color guests will see after a storm.
A showroom visit makes that comparison faster than a screen. Teams near Jupiter, Boca Raton, and Fort Myers can stand over full units instead of a small chip. The Hardscape.com locations page lists those rooms. If you are not nearby, start in the virtual showroom and then ask for the same pieces by mail. The outdoor sample palette guide is a useful companion when you are narrowing colors before the site visit.
Order the mockup from the line you intend to buy. Set a few units in the bond you drew, with the spacer you plan to use. Stand at the curb and at the garage. If the joint or the border feels busy there, it will feel busier across the whole drive.
Keep the spare plan on that same visit. A later reorder can be a different dye lot even when the name matches. Labeled cartons from this order are the only reliable patch for a chip in the lane.
Photograph the approved panel in the driveway, with the spacer in place, and send that photo with the count. A written note that says "large grey rectangle" is not a layout. The photo shows the bond direction, the border stop, and the sample name on one page the whole team can see.
The bottom line: Approve the layout on rinsed samples, in the real bond, before the full order leaves the showroom.
Find a porcelain installer for the driveway layout
One module in the tire path, a simple grid or running bond, and a border that stays outside the lanes. Decorative mixes and size changes in the driving surface make the apron look busy.
Yes, if it stays out of the tire path and stops before the garage opening and the street apron. A second size inside the lane reads as a patch.
Hide cuts at the lawn edge, a column, a gate, or a drain. Avoid a row of thin pieces against the garage door. If the math forces that row, change the module or the border width.
It does not. Thickness, base design, and porcelain versus concrete belong in the porcelain driveway guide and with your installer. This page only settles how the surface is drawn.
Yes. Module, bond, and border change the count and the look. Send the layout sheet to Hardscape.com and ask for a project-specific estimate instead of guessing from a patio.
A modern pavers driveway stays clean when the module, the bond, and the border are decided together. Bring that drawing, a rinsed sample, and the installer to the same conversation.
Hardscape.com can walk through sizes and colors at the Jupiter and Boca Raton showrooms, or by request from the Fort Myers area. Call 561-998-5000 or send the layout notes through the contact form. Browse the porcelain paver collection only after the drawing names the module.