29 Oct
To protect porcelain pavers during construction, coordinate the work sequence, plan material storage, control traffic near finished areas, and agree on cleanup and handoff steps before installation starts. A short written plan helps homeowners, designers, architects, and crews reduce avoidable chips, marks, staining, and rework without relying on guesswork.
Discuss your porcelain paver project with our team
Start with a shared project brief. Make sure the product selection, layout, delivery plan, installation sequence, and site responsibilities are understood by the people who will make decisions and handle materials. Small mismatches discovered early are easier to resolve than changes made after pallets arrive or paving is underway.
Clarify what “ready for paving” means on this site. The responsible installer should assess base preparation, drainage, access, and other project-specific requirements. Porcelain paver installation should be planned as sand-set. Do not let another trade change the intended assembly without review by the responsible project professional.
Use the porcelain paver overview to review product categories, then share the chosen product details with the project team. If the scope or timing is still taking shape, the project planning tips can help organize early questions.
The bottom line: Before work begins, align product, layout, site readiness, staging, access, and decision-makers in one shared plan. A clearly assigned receiving lead and a sand-set installation plan give each trade practical boundaries and reduce last-minute handling and sequencing mistakes.
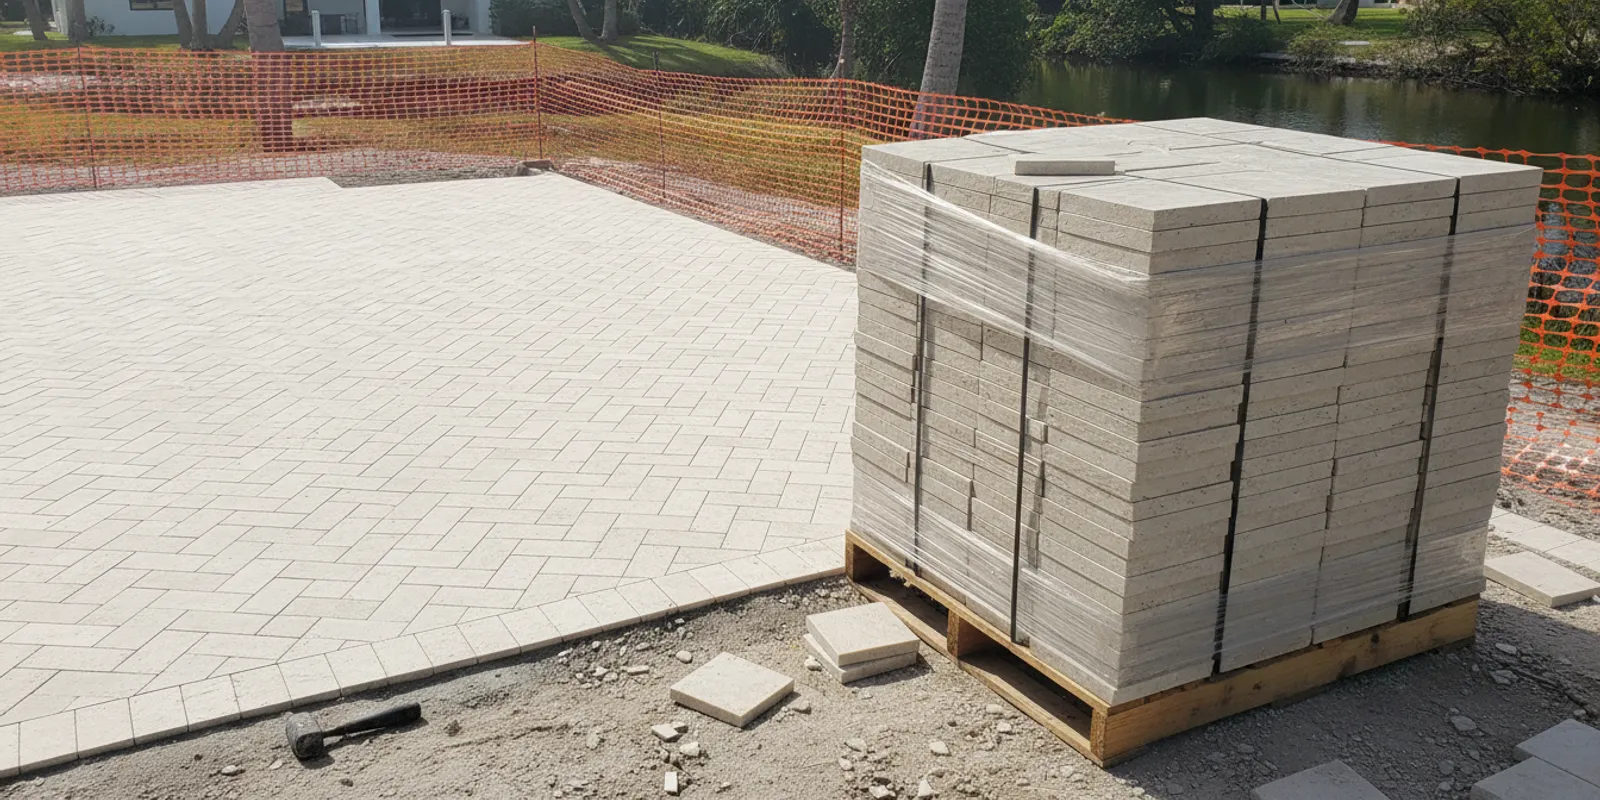
Choose a stable, accessible staging area away from vehicle paths, falling debris, wet trade work, and equipment movement. Avoid placing pallets where they block emergency access or force crews to carry pavers through an active work zone. If the preferred location is unavailable, decide on an alternate before the truck arrives rather than improvising under time pressure.

Assign one person to receive the delivery. That person can compare the shipment with order information, note visible damage or missing items promptly, and follow the supplier’s current receiving process. Record observations before materials are moved or packaging is discarded, and keep any questionable piece aside for review instead of quietly incorporating it into the work.
Think through delivery-day traffic. If landscaping, building work, or another delivery needs the same entrance, set a time window or alternate route. This simple scheduling detail prevents pallets from being moved repeatedly and lowers the chance that a vehicle or carried material will strike them. The Hardscape locations page can help Florida project teams explore showroom or dealer options, while the installer finder is a path to professional support.
The bottom line: Good staging protects access, reduces repeated handling, and keeps unrelated work away from stored material. Name a receiving lead, select a backup location, inspect deliveries promptly, and document concerns while the shipment and packaging can still be checked.
Map paving against the whole project schedule, not only the installer’s calendar. Roof or overhead work, painting, heavy deliveries, fencing, landscaping, and equipment access can expose completed areas to debris or impact. Where practical, complete high-debris and overhead tasks before laying the pavers, then reserve a clear route for any work that must follow.
| Project phase | Coordination action | Protection priority |
|---|---|---|
| Before delivery | Prepare access, confirm a receiving lead, and identify a staging location | Avoid impacts, confusion, and repeated pallet moves |
| Before installation | Complete disruptive adjacent work and confirm site readiness | Keep debris and wet trade materials away from the paving area |
| During installation | Define work zones, material routes, and decision authority | Limit cross-traffic and careless handling |
| After installation | Set access rules, inspection timing, and handoff responsibilities | Prevent damage while finishing work continues |
When trades must overlap, identify a route that avoids newly installed sections. Assign someone to supervise temporary access, and specify what may pass through and when. A cover is not automatic permission for heavy loads, sharp tools, ladders, or equipment. The installer or project lead should approve a protection method suitable for the surface and the actual activity.
Pool projects need particular attention at transitions. Coordinate coping, field paving, drainage details, and later access as one sequence. Review the available porcelain coping options alongside the layout so crews know which areas are complete and which remain active. A change in one edge detail can affect where people and materials move, so communicate approved revisions before work proceeds.
For a practical schedule, list each trade, its work area, approximate timing, materials or equipment it brings, and whether it needs to cross the paving zone. Then mark the “no access” periods and the person who can authorize an exception. This turns a general wish to be careful into a workable site rule.
The bottom line: Schedule the most disruptive work before paving where possible. If overlap is unavoidable, specify a supervised route, permitted activity, and approved protection instead of assuming a temporary cover makes the area safe for any traffic.
Temporary protection works when it is clean, stable, and matched to a specific risk. Grit trapped beneath a sheet or board can abrade the surface as people walk over it. A cover that shifts, holds moisture, or creates a trip hazard can cause new problems. Choose the method with the installer or site lead rather than selecting a material solely because it is available.
Keep metal tools, sharp-edged materials, and heavy equipment off the pavers. Keep paint, mortar, sealants, fuel, and other trade materials away unless the installer has confirmed a safe process for that product and task. If something spills or an impact occurs, stop work in that area, document the event, and ask the responsible professional how to proceed.
Make the inspection routine visible to everyone: note who checks the cover, when it is checked, and who may remove or replace it. For example, a delivery crew can be asked to stop at a marked boundary while the site lead checks that the access route and covering remain clean. This avoids the common gap where each trade assumes another person is responsible.
Product-specific information matters when selecting care methods. Review the porcelain paver cleaning information before using a cleaner, and do not test an unfamiliar chemical or abrasive tool in a prominent area. For a project-specific product question, contact the Hardscape team with the product details and a description of the site condition.
The bottom line: A temporary cover does not replace controlled access. Clean first, use a method approved for the product and site activity, inspect it as work continues, and keep tools and trade materials away from the paving.
Make cleanup a planned task, not a final-hour scramble. Remove loose debris with a method appropriate to the surface, and do not drag construction waste across the pavers. Where possible, keep cutting, mixing, washout, and tool-cleaning areas away from completed paving. Place waste containers where crews can reach them without crossing finished sections unnecessarily.
Before choosing a cleaner or tool, identify what needs to be removed and consult current product guidance. A method suited to one residue may be wrong for another. Do not mix cleaning products or use aggressive chemicals, pads, or tools without confirming compatibility. If a residue has hardened or a mark appears, pause and seek guidance rather than escalating to a stronger treatment without a plan.
Set checkpoints at the end of each shift, after cutting work, after temporary protection is removed, and before handoff. At each checkpoint, look for loose grit, wet trade materials, debris at edges, and any new marks or chips. Record what contacted the surface and what cleanup method was used when an issue is found. The care and maintenance information can help guide ongoing care after construction responsibilities transfer to the owner.
A simple spill response prevents confusion: stop the activity, keep foot traffic out of the affected area, note the material and time, and contact the installer or product supplier for direction. Avoid rubbing a spill across a larger area or applying an unverified cleaner. Preserve relevant packaging or product information so the responsible person can identify what contacted the paver.
The bottom line: Clean debris promptly and choose methods based on the residue and product guidance. At each work checkpoint, inspect and document the surface; if the right treatment is unclear, pause and ask before a small site issue becomes a larger one.
Construction rarely follows every drawing detail exactly. A drain position, threshold, cut location, or access conflict may prompt a proposed change. Do not let a crew improvise a change that affects the paving layout, material, or installation sequence without review by the person responsible for the project. A quick pause can prevent a visible mismatch or unnecessary removal later.
For example, suppose a later trade needs to bring materials across the planned paver route. The team can compare an alternate entrance, a revised delivery time, or a limited supervised crossing. The right answer depends on site conditions and an approved protection method; the key is to decide before the route is used, not after a mark or chip is discovered.
Keep a brief issue log with the date, location, description, photographs, person notified, and agreed next step. This is not a substitute for the project’s formal documentation process. It simply gives the owner, designer, and installer a shared record and reduces the chance that instructions are lost between shifts.
The bottom line: When conditions change, pause the affected task, document the conflict, and get the designated project decision-maker’s direction. Share the approved resolution with all impacted trades so the same issue does not recur on the next shift.
Walk the paving with the installer or site lead before the crew leaves. Identify completed and unfinished areas, note visible concerns, and confirm who owns remaining work. If landscaping, fencing, furniture delivery, or another trade follows, agree on access restrictions and who will check that they are followed.
Make instructions concrete. Instead of “be careful,” specify the open route, closed areas, allowed activities, and when the cover will be checked. Include the latest approved layout and record any changes so that later trades do not rely on an outdated drawing. The outdoor project planning guide and project resources can help organize information the team needs to share.
A useful handoff also distinguishes a construction concern from routine care. Explain which observations need prompt review by the installer and which care instructions apply after the work area is released. Avoid promising that a particular mark can be removed or repaired until the appropriate product guidance has been checked.
The bottom line: Give the owner and following trades written, specific instructions: surface condition, access boundaries, protection duties, cleanup expectations, and a contact for questions. A concise handoff turns “be careful” into steps people can follow.
Ask Hardscape about product and project questions
Only when the project lead or installer approves an access and protection plan. Control traffic, clean before covering, and do not assume a cover is suitable for equipment or heavy loads.
Temporary protection may help when nearby work creates a risk, but the method should suit the surface and conditions. Clean first, avoid trapping grit, inspect the covering, and follow the installer’s direction.
Pause work near the affected area, document what happened, and contact the responsible installer or supplier. Avoid trying an unapproved repair or cleaner before the cause and appropriate response are understood.
Where practical, schedule installation after disruptive or overhead work and before final landscaping or other work that requires a defined access plan. The project team should decide based on site conditions and the sand-set installation plan.
Ask the responsible installer or project lead to approve the method for the specific product, surface condition, and activity. The person arranging protection should also confirm who will inspect and remove it.
Clear sequencing, careful staging, controlled access, suitable temporary protection, and a documented handoff help a team protect porcelain pavers during construction. Confirm site-specific decisions with the responsible professional, and contact Hardscape when you need help identifying product information or a next step.
For a more reliable schedule, turn the checklist into a brief site note that travels with the current layout. List the delivery lead, staging point, no-access zones, cleanup checkpoints, and person who can approve changes. Share the note before each new trade arrives, then update it when access or timing changes. That small routine gives everyone the same instructions and makes it easier to spot an unresolved decision before work proceeds.
Consider a sample handoff scenario: a paving crew completes one section on Friday, while a fence crew is booked for Monday. Before the paving crew leaves, the site lead should mark the completed boundary, confirm the fence crew’s route and material drop, and identify whether any crossing is permitted. If no suitable route or approved protection exists, reschedule delivery or use another access point rather than leaving the decision to a crew at the gate.
Likewise, after a rain shower or an unexpected delivery, do not simply put a cover back where it was. Check whether grit or wet debris has collected, clean the area using product guidance, and inspect the covering for movement or contamination. If there is uncertainty about a mark or residue, record its location and ask the responsible installer before applying a new treatment. A consistent process is more useful than a one-time inspection because site conditions change throughout the project.
When selecting the next step, match the question to the right resource. Review the product range for product context, explore project timeline planning when coordinating trades, and use the spacer information when discussing layout details with the installer. For project-specific questions, the contact page provides a direct route to the team.
That approach keeps the article’s central point practical: protect the work by planning access and responsibilities before the site gets busy, then verify those arrangements as each phase changes. Use the responsible installer’s current product and site guidance for decisions about assembly, protection, and cleanup.