18 Sep
Porcelain paver repair is usually a replacement-planning job, not a surface patch. When one outdoor paver is cracked, badly chipped, or no longer sits level, the safest approach is to assess the cause, confirm the unit can be removed, and prepare a compatible replacement without disturbing the surrounding layout.
This guide explains how to evaluate isolated damage, what information to gather before ordering a replacement, which tools may be useful, and how a professional approaches a sand-set spot replacement. It is product-agnostic safety guidance, not a substitute for a qualified installer who can inspect site conditions in person.
Short answer: Porcelain paver repair usually involves identifying the damaged unit, checking whether the surrounding installation is stable, removing the affected paver, correcting the bedding or joint issue if needed, and placing a compatible replacement. A single-unit replacement is different from a broad installation failure, so diagnosis comes before tools or materials.
Many outdoor paver problems look similar at first. A visible crack may come from impact, movement below the unit, an edge that was stressed during handling, or a neighboring paver that has shifted. A chipped corner may be isolated, or it may reveal that the unit is being loaded unevenly. A paver that rocks or sits low may not be damaged at all. The bedding and joints may need attention instead.
That distinction matters because replacing the visible piece without addressing an unstable area can leave the new piece exposed to the same problem. Start by documenting the location, photographing the damage, and noting whether water collects nearby, joints have opened, or adjacent units have moved.
For background on how porcelain pavers perform and why an individual unit may be replaceable, review Hardscape.com's guide to porcelain paver durability and breakage. Keep the repair decision focused on the specific installation in front of you.
The bottom line: Porcelain paver repair is a controlled spot-replacement process when damage is isolated and the supporting area is stable. If several units are moving, the bedding is uneven, or drainage is involved, treat the situation as an installation assessment rather than a one-paver fix.
Short answer: Assess porcelain paver damage by documenting the defect, testing whether the unit moves, inspecting nearby joints and pavers, and looking for site conditions that could repeat the failure. Do not begin removal until you know the work area is safe, the surrounding units can remain undisturbed, and the replacement path is clear.
A light mark or small edge blemish may not affect use, while a crack through the body, a sharp fragment, or a paver that rocks under normal foot traffic deserves closer attention. Do not assume a filler, coating, or touch-up product will restore the unit's original performance or appearance. If the defect creates a sharp edge or the piece has lost stability, plan for replacement.
Check the four sides of the damaged unit. Look for open joints, displaced spacers, low spots, loose joint material, or adjacent pavers that have shifted. A straightedge can help reveal a height difference, but it does not diagnose what is below the surface. Note whether the problem is near a drain, pool edge, step, coping transition, or area that receives concentrated loads.
Photograph the paver in place, including its orientation, pattern, joint width, and relationship to nearby units. Measure length, width, and thickness if accessible. Record the product name, collection, color, lot information, and any markings on the original packaging. Those details are more useful than relying on a visual match alone.
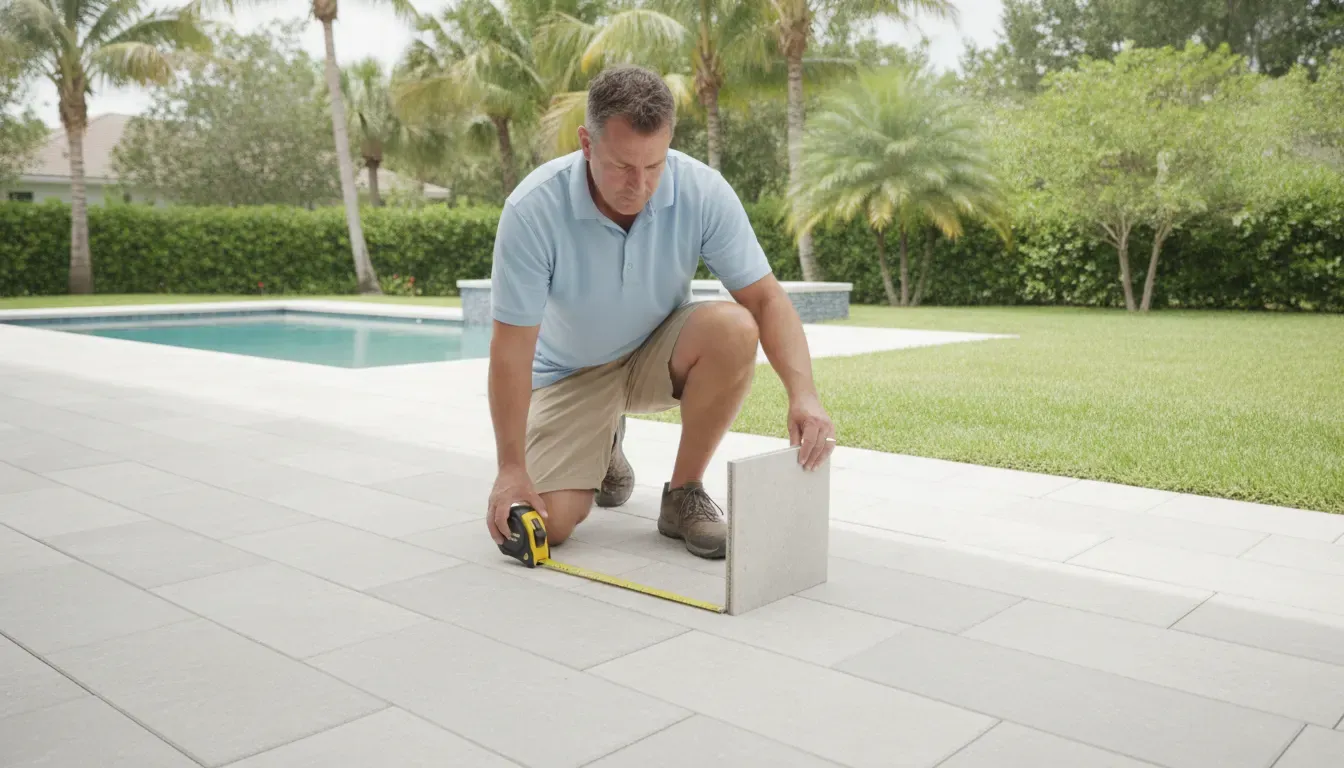
Pause the project if the paver is part of a structural edge, a stair, a pool coping assembly, or a commercial area with special loading requirements. Those locations may require a site-specific method and a qualified professional.
The bottom line: A sound porcelain paver repair plan begins with diagnosis, not demolition. Document the unit and surrounding pattern, identify movement or drainage concerns, and confirm the replacement's dimensions and product identity before disturbing the sand-set installation.
Short answer: A cracked porcelain paver is generally better evaluated for replacement than treated as a routine patching project. A patch may change the appearance without resolving instability, sharp edges, water entry at the crack, or the underlying reason the unit failed. The right choice depends on the damage, location, and product guidance.
Repair kits are often marketed for chips or cracks in indoor tile and other hard surfaces, but outdoor pavers face different conditions. They are exposed to foot traffic, tracked grit, temperature changes, rain, moving joints, and repeated cleaning. A product that fills a visible defect may not be appropriate for an exterior paver or compatible with its surface.
That does not mean every small mark requires immediate removal. A qualified installer can help distinguish a nonfunctional blemish from a defect that presents a safety or durability concern. Ask for the repair product's intended use, preparation requirements, color stability, curing conditions, and limitations before applying anything.
A replacement is often the more predictable option when the paver is broken through, has a loose fragment, creates a trip or cut hazard, or cannot be cleaned without worsening the defect. Keep the original unit or clear photographs until the replacement has been sourced. It can help confirm dimensions, orientation, and product family.
The bottom line: Patching a cracked outdoor porcelain paver can conceal a problem without making the area stable. Use product-specific guidance for minor chips, but treat through-cracks, loose fragments, sharp edges, and movement as reasons to evaluate an individual-unit replacement or professional repair.
Short answer: Plan a spot replacement by matching the original paver's product family, size, thickness, color variation, edge profile, joint layout, and installation context. Confirm availability before removing the damaged unit, because a visually similar paver may not align with the existing pattern or sit correctly in the prepared bed.
Color and texture can vary between production runs, and weathered pavers may not look identical to unused material. Request a sample or product confirmation when possible. Hardscape.com offers multiple porcelain paver formats and related products, so use the current porcelain paver product information to narrow the match rather than choosing from a photo alone.
Also check the surrounding accessories and joint system. The correct replacement may depend on joint spacing, sand, edge restraints, or a bonding product used in a specific detail. Hardscape.com's accessories collection is a useful starting point for identifying current installation support products, but the repair method should match the existing site conditions.
The bottom line: Replacement matching is more than finding a similar color. Capture the original product, dimensions, edges, pattern, and installation context, then confirm compatibility before removal. A correct match reduces rework and helps the new unit blend with the existing porcelain paver field.
Short answer: A spot replacement may require measuring and marking tools, personal protective equipment, a controlled removal method, a clean bedding material, joint material, and the compatible replacement paver. The exact list depends on the installation and should be confirmed by the installer and product instructions before work begins.
Do not assume that a tool sold for ordinary tile work is appropriate for an outdoor paver installation. Cutting, drilling, lifting, and breaking operations can create sharp fragments and airborne dust. If the repair requires cutting, use a qualified professional who has the proper equipment and training for the material and location.
For projects using spacers, review Hardscape.com's guide to porcelain paver installation and spacer planning. The goal is not to add new components automatically. It is to restore the existing joint layout and keep the repaired unit consistent with the field.
The bottom line: The right repair kit is the one that matches the existing installation, not the one with the most tools. Protect the work area, use compatible sand-set and joint materials, and leave cutting or hazardous removal to a qualified professional when the method is not clearly within your skill level.
Short answer: A sand-set porcelain paver replacement normally follows a controlled sequence: isolate the work area, remove joint material, lift or remove the damaged unit without disturbing neighbors, inspect and correct the bed, place the matching replacement, restore the joints, and check the finished area for alignment and stability.
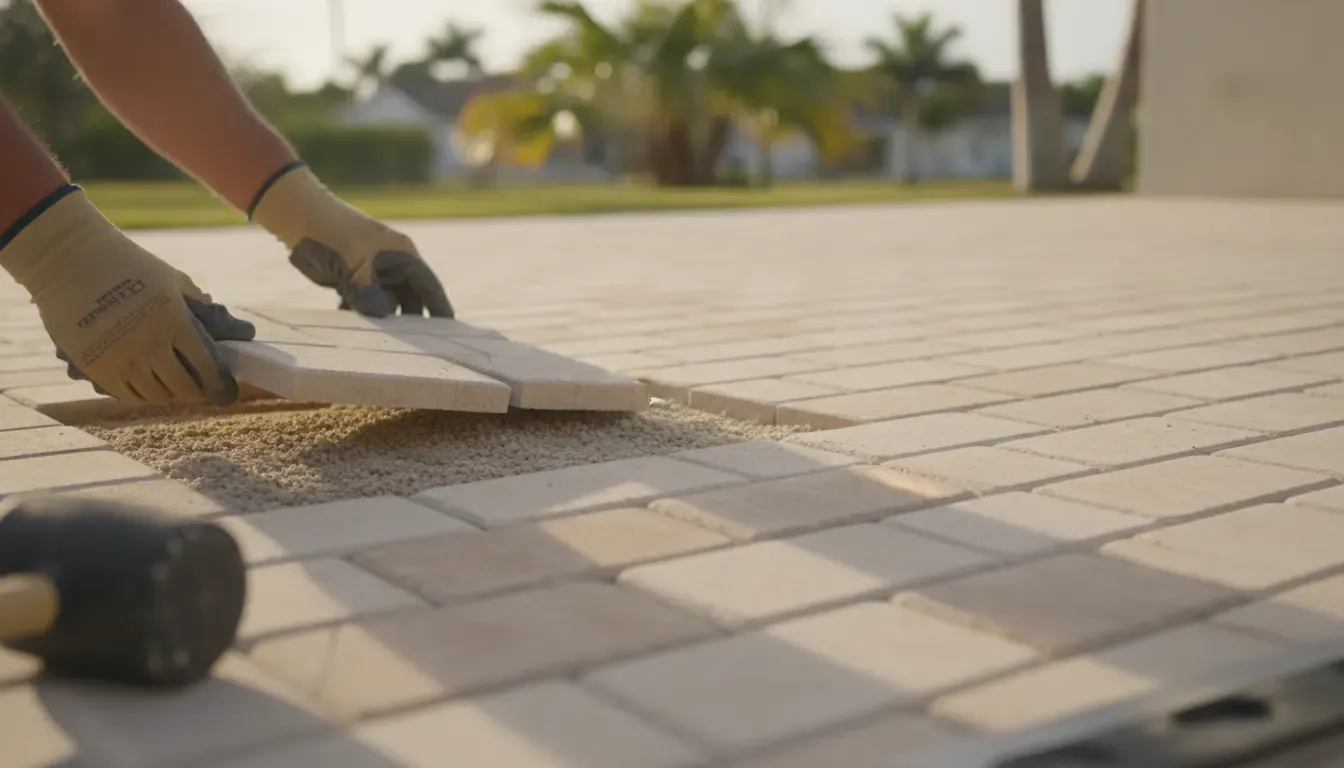
This sequence is intentionally high level. A paver's thickness, edge design, joint system, location, and surrounding base can change the correct method. Product instructions and the original installer's specifications take priority. If you cannot identify the installation system, stop before removing the unit and ask a qualified installer to assess it.
The bottom line: A sand-set spot replacement succeeds when the new unit, bed, joints, and surrounding layout are treated as one system. Remove only what is necessary, correct the supporting area before placement, and verify stability and drainage instead of rushing to close the joints.
Short answer: Call a qualified installer when damage affects several pavers, the unit is at a step or pool edge, the area is moving or draining poorly, the replacement requires cutting, or the installation method is unknown. Professional assessment is also appropriate when the repair could affect safety, accessibility, vehicles, or a commercial project.
A qualified installer can also help determine whether the repair should be limited to one unit or expanded to nearby joints and bedding. For homeowners and project teams in Florida, a site-specific review may be especially useful after severe weather, drainage changes, landscaping work, or construction near the paver field.
Hardscape.com supports residential and commercial porcelain paver projects with product information and accessories. Use the Hardscape.com contact page to request guidance about product matching and the next step. Keep the request specific by including photos, measurements, the project location, and any product records you have.
The bottom line: Professional help is not limited to large repairs. It is the right choice whenever removal, matching, safety, drainage, edges, or the underlying installation is uncertain. Early assessment can prevent a one-unit repair from becoming repeated work.
Short answer: Routine maintenance can reduce avoidable porcelain paver problems by keeping joints clear, identifying movement early, removing debris, and documenting small changes before they spread. Maintenance cannot prevent every impact or site issue, but it gives homeowners and professionals a better chance to address isolated concerns while the repair remains manageable.
Use a simple inspection rhythm suited to the project. Sweep away leaves, grit, and organic debris before they collect in joints or around drainage points. Rinse or clean the area using the product guidance for the installation. Look for open joints, rocking units, chipped edges, standing water, or changes near steps and transitions.
In Florida, heavy rain and seasonal storms can move debris and expose weak points in an outdoor installation. After a major weather event, inspect the paver field and nearby drainage paths. Do not pressure-wash aggressively around open joints or unstable units, because the cleaning method can make a developing issue harder to diagnose.
Hardscape.com's porcelain paver maintenance schedule provides broader routine-care context. This repair guide complements that topic by focusing on what to do when one unit is already damaged. Keep the two decisions separate: routine care maintains the field, while spot replacement addresses a specific defect.
The bottom line: Maintenance is an early-warning system, not a promise that damage will never occur. Regular sweeping, careful cleaning, joint checks, and post-storm inspections can reveal movement or drainage concerns sooner and help preserve a stable sand-set porcelain paver installation.
Quick answer: Most isolated porcelain paver repair decisions come down to four questions: Is the damage only cosmetic, is the surrounding installation stable, can the replacement be matched accurately, and is the work safe for the person attempting it? If any answer is uncertain, pause and request a qualified assessment.
Often, an isolated unit can be replaced when the surrounding sand-set installation is stable and the new paver matches the original product and dimensions. The removal method must protect nearby edges and the replacement must restore the existing joints.
Record the product name, code, color, size, thickness, edge details, orientation, and lot information if available. Use photographs and measurements, then confirm the match with the supplier instead of relying on color alone.
Do not assume a general repair kit is suitable for an outdoor paver. Check the product's intended application, preparation requirements, compatibility, and limitations. A through-crack, sharp edge, loose fragment, or unstable unit usually deserves replacement planning.
Stop using the area and have the bed and surrounding installation inspected. A rocking unit may indicate an uneven or disturbed sand-set bed, an incompatible replacement, or movement nearby. Adding joint material alone may not correct the cause.
Use a qualified installer when the damage is repeated or near steps, pool edges, drains, or commercial areas, when cutting is required, or when the installation method is unknown. Professional assessment is also sensible when safety or drainage could be affected.
The bottom line: Successful porcelain paver repair depends on accurate diagnosis, a compatible replacement, a stable sand-set bed, and safe execution. When the work area or product details are uncertain, contact Hardscape.com or a qualified installer before removing the damaged unit.