14 Oct
A clear porcelain paver landscape specification helps the project team make consistent decisions from product selection through installation planning. Whether you are designing a Florida patio, pool deck, walkway, or a larger outdoor space, documenting the material, layout, coordination points, and open questions can make each handoff easier. Use this checklist to shape a project-specific specification without assuming that one paver or installation detail fits every site.
Discuss your project and product questions
A useful specification is more than a product name. It gives the designer, owner, supplier, and installer a shared record of what is selected, what still needs confirmation, and which decisions depend on site conditions. It should describe the intended use and the appearance the design is meant to achieve, while directing project-specific technical questions to the appropriate product information and project professionals.
Start by identifying the project areas where pavers are planned. A pool deck, entry walk, patio, and service area may have different design priorities. Note the intended use of each area and any boundaries or transitions that affect the layout. Avoid assuming that the same thickness or installation detail applies everywhere just because the surfaces are part of one project.
Next, separate confirmed selections from items that need review. For example, a designer may have chosen a color family but not a specific size, or may know where a transition occurs but still need installer input on the site condition. Marking these as open questions is more useful than filling a specification with assumptions.
For product research, compare the available porcelain paver options with the project brief and record the exact product information being considered. If you need help locating the right team for a project discussion, the locations page is another starting point.
As an early exercise, create a brief for each area before selecting a product. A pool deck brief might note its connection to coping and the desired walking route; a garden walk brief might focus on its relationship to planting beds and path direction. This does not decide technical suitability. It gives the team a clear design question to answer against product information and actual site conditions.
The bottom line: A specification should align the project team around the intended application, selected product, design intent, and decisions still awaiting confirmation. Organize the document so that verified product details are distinct from site-specific items to review. This reduces ambiguity without making unsupported promises about performance or installation.
Record the product identity precisely enough that the team can distinguish the selected option from alternatives. Include the product name or collection, thickness category, size, color name, and any relevant product reference available from the manufacturer. If the design uses more than one product, list each one separately and identify where it appears in the plan.
Hardscape.com’s portfolio includes 2CM, 3CM, and 5CM porcelain pavers, along with porcelain cobblestones and stepping stones. These are options to evaluate, not interchangeable specifications. Match the selection to the intended area and have product-specific questions checked against the current information for that exact item. The 2CM paver information, 3CM paver information, and 5CM paver information can help you compare the available categories.
Include a visual description: describe the color, pattern, and surface appearance the design is meant to use, and identify the sample or product reference reviewed. Do not rely on a screen image alone to approve a palette. Where appearance matters across a large area, record which sample was reviewed and whether the decision is final or provisional.
Also document quantity and packaging coordination as project items, but do not guess quantities from a concept drawing. The design team should identify the measured area and account for its layout plan with the responsible project professional. Confirm ordering details with the supplier once the product, dimensions, and layout have been coordinated.
For a multi-area project, create a separate schedule entry for each distinct selection instead of grouping products under a broad label such as “patio paver.” A useful entry ties the material to a room or area name used on the drawings, then references the corresponding plan detail. This is especially helpful when one project includes a main field, a contrasting border, and a separate walkway. If a product is being considered but has not been approved, mark it as an alternate and state what decision is needed before it becomes part of the order.
Make the schedule easy to audit by using the same names in the product list, plan annotations, sample log, and meeting notes. For instance, if the drawing calls an area “north terrace,” use that label in the schedule rather than switching between “upper patio” and “terrace.” A consistent label lets a reviewer trace a selection quickly and helps prevent a provisional alternate from being mistaken for the approved material.
Keep product descriptions factual and tied to the source information available for the exact selection. Do not carry over a technical note from one product to another simply because both are porcelain. If a specification question cannot be resolved from the product materials, write it down and ask the supplier or project professional to confirm it. This makes the document transparent about what is known, what is selected, and what still needs an answer.
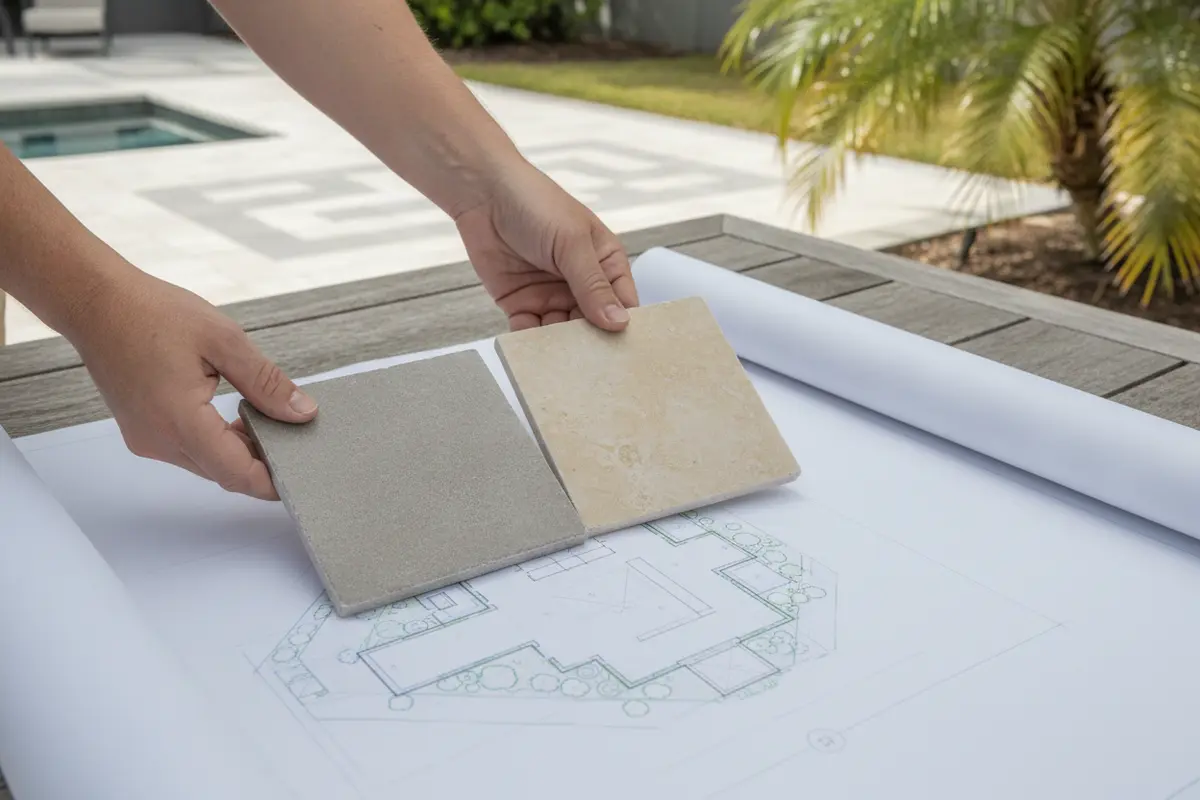
The bottom line: Name each selected product and record its thickness category, size, color, and reference separately. Treat 2CM, 3CM, and 5CM as distinct choices that require product-specific review. A physical sample record and clearly identified open items help the whole team work from the same design decision.
Use a plan or detail to show where the pavers begin and end, how the pattern is oriented, and where the design changes material or direction. Add dimensions or reference points that let the installer understand the intent. If the project includes borders, accents, steps, or a transition to another surface, show those elements rather than relying on a verbal description.
For a straightforward field, note the selected pattern and orientation in plain language. For a more involved layout, identify a starting reference, key alignment lines, and any locations where cuts or transitions need coordination. The designer should make clear which lines are essential to the appearance and where the installer can adjust the layout to accommodate site conditions.
Color relationships also benefit from a written note. Describe how the pavers relate to the home, coping, planting, or other selected materials. If multiple porcelain products are used, state whether the goal is a close match, a deliberate contrast, or a defined border. Do not leave this decision for the installation day.
For pool areas, coordinate the paver selection and layout with the specified coping. Hardscape.com offers porcelain coping options; identify the exact product and edge profile under consideration in the project documents and confirm compatibility for the project. A coordinated detail can help the designer and installer review transitions before work begins.
A marked-up plan can make review more efficient. Use one drawing to show the paved limits, another detail or callout for a border or step where needed, and a small legend to explain pattern direction and material labels. Before sharing, check that dimensions and reference lines point to the intended area and that the drawing does not conflict with the current product schedule. If a dimension or edge condition has not been confirmed, flag it for review rather than presenting it as settled.
The bottom line: A plan should communicate placement, orientation, borders, transitions, and the visual relationship between products. Show critical alignment points and identify which decisions remain flexible for field coordination. Clear drawings and written notes help preserve the intended design while leaving site-specific adjustments to the project team.
Porcelain paver installation should be described as sand-set. The specification should identify the intended sand-set approach and direct the installer to review the actual site, project requirements, and current product guidance before finalizing the installation details. Do not treat a generic note as a substitute for project-specific planning.
Ask the installer to review the conditions that affect the work area and explain what information they need before confirming the plan. Depending on the project, this may include the boundaries of the paved area, adjacent surfaces, drainage intent, access, and the relationship to coping or other site elements. The specification can record these as coordination items without prescribing unverified construction details.
Document who is responsible for confirming each item and when it must be resolved. For example, a plan might assign the final layout review to the designer and installer together, while product selection confirmation remains with the owner and supplier. Note any required site visit, sample review, or product question that is still pending.
Include the installation accessories that the project team expects to evaluate. Depending on the design and installation plan, relevant items may include spacers, grout, polymeric sand, or cutting accessories. Do not list an accessory as a confirmed requirement unless it has been selected for the project. The accessories overview and individual product information can support that review.
For a practical coordination pass, group questions into three buckets: site conditions, product details, and responsibilities. The site bucket can hold questions about boundaries, adjacent surfaces, access, and drainage intent. The product bucket can list details that need confirmation against the specific paver and accessory information. The responsibility bucket should name the role expected to answer each question and the milestone by which the team needs an answer. This makes a general note actionable without turning it into an unsupported construction prescription.
The bottom line: State the sand-set intent and identify the site and product questions that require installer review. Keep responsibilities and unresolved details visible, and confirm accessories against the actual design and installation plan. That approach keeps the specification useful without turning a general checklist into unverified technical instructions.
A simple review table helps the designer, owner, and installer see what is decided and what needs follow-up. Use it as a coordination tool, not as a substitute for the project drawings or current product-specific information.
| Specification item | What to record | What to confirm before approval |
|---|---|---|
| Product identity | Product name or reference, thickness category, size, and color | That the identified option matches current product information and the intended application |
| Visual selection | Sample reviewed, pattern, orientation, and color relationships | That the owner and designer approve the actual sample and design intent |
| Layout | Paved boundaries, borders, alignment points, and transitions | That drawings communicate the intent and field coordination responsibilities |
| Installation plan | Sand-set intent and site coordination items | That the installer has reviewed project conditions and product-specific guidance |
| Accessories | Potential spacers, grout, polymeric sand, or cutting accessories | That each accessory is appropriate to the approved product and installation plan |
| Open decisions | Unresolved product, layout, sample, or site questions | Who will answer each question and by what project milestone |
Before approval, check that the selected product name is consistent across the schedule, drawings, and sample record. Compare the material callouts with the layout details. Then review the unresolved list with the people responsible for product selection and installation. If a choice depends on site conditions or product-specific information, mark it for confirmation instead of assuming an answer.
One useful review method is to scan the table row by row in a project meeting. For each entry, state whether it is selected, pending, or not applicable, then add a person or role responsible for follow-up. For example, if the sample is approved but a transition detail remains open, keep those as separate statuses. This avoids holding up clear decisions while ensuring the unresolved point remains visible to the right people.
The bottom line: Review product identity, visual intent, layout, sand-set coordination, accessories, and open decisions as separate items. A concise table makes omissions easier to spot and gives each question an owner. Approve the specification only when the project team can identify what is selected and what still needs confirmation.
A specification works best when it connects design decisions to the people who will answer product and installation questions. Keep a record of the product information consulted and the date it was reviewed. If the project changes after approval, note the change and check whether it affects the product schedule, layout, accessories, or installer coordination.
For projects in Florida, consider the real conditions and intended use of the individual area rather than copying a note from a different site. A patio, walkway, and pool deck may share a visual palette but still call for separate review of their design and installation coordination. Designers serving Jupiter, Boca Raton, Fort Myers, or other locations can use the same disciplined documentation process while confirming local project conditions with the project team.
Hardscape.com provides product information and project contact routes. Use the porcelain paver product overview to continue product research, or use the professional finder to explore installer support. For a project-specific discussion, send the team the product references, project area, drawings or layout questions, and any details still awaiting a decision.
For a clean handoff, share one current specification with the owner, supplier, designer, and installer. Keep superseded versions out of the active project folder. Confirm that each participant knows which sample represents the approved selection and which open questions must be resolved before ordering or installation planning proceeds.
When sending the package, put the latest schedule and drawings together with the sample identification and open-question list. A short cover note can say what changed since the prior issue, which choices are approved, and where input is requested. That makes it easier for a recipient to respond to the current decision rather than reopening every item or relying on an outdated attachment.
The bottom line: A strong handoff keeps current product references, approved samples, drawings, and open questions together. Share the same version with everyone involved and assign each remaining decision to a named project role. When a design changes, review the related specification items rather than updating only the product name.
Contact Hardscape.com about product options for your project
Include the product identity, thickness category, size, color, sample reference, intended project areas, layout and transition details, sand-set installation intent, accessory questions, and any unresolved decisions with a responsible person assigned.
Choose based on the intended application and the current information for the exact product under consideration. These are distinct product categories. Confirm suitability and project-specific requirements with the relevant product information and project professionals rather than applying one general rule to every site.
Record the product and color reference, identify the physical sample reviewed, and state how the selection relates to adjacent materials. If the choice is not final, label it as provisional so the team does not mistake it for an approved selection.
The installer should review the actual project conditions, the approved product information, layout, transitions, and accessories. The specification should describe a sand-set installation intent and list remaining questions for project-specific confirmation.
The bottom line: A complete specification connects a precisely identified product to an approved visual sample, a readable layout, and a coordinated sand-set plan. Keep project-specific questions visible and confirm them with the appropriate product and installation professionals before moving from design intent to project execution.
Use this checklist as a starting point, then tailor it to the product and site in front of you. Clear selections and well-assigned questions help the design and installation teams move forward with the same understanding.